
How to Choose a Handlebar Bag for Everyday Cycling
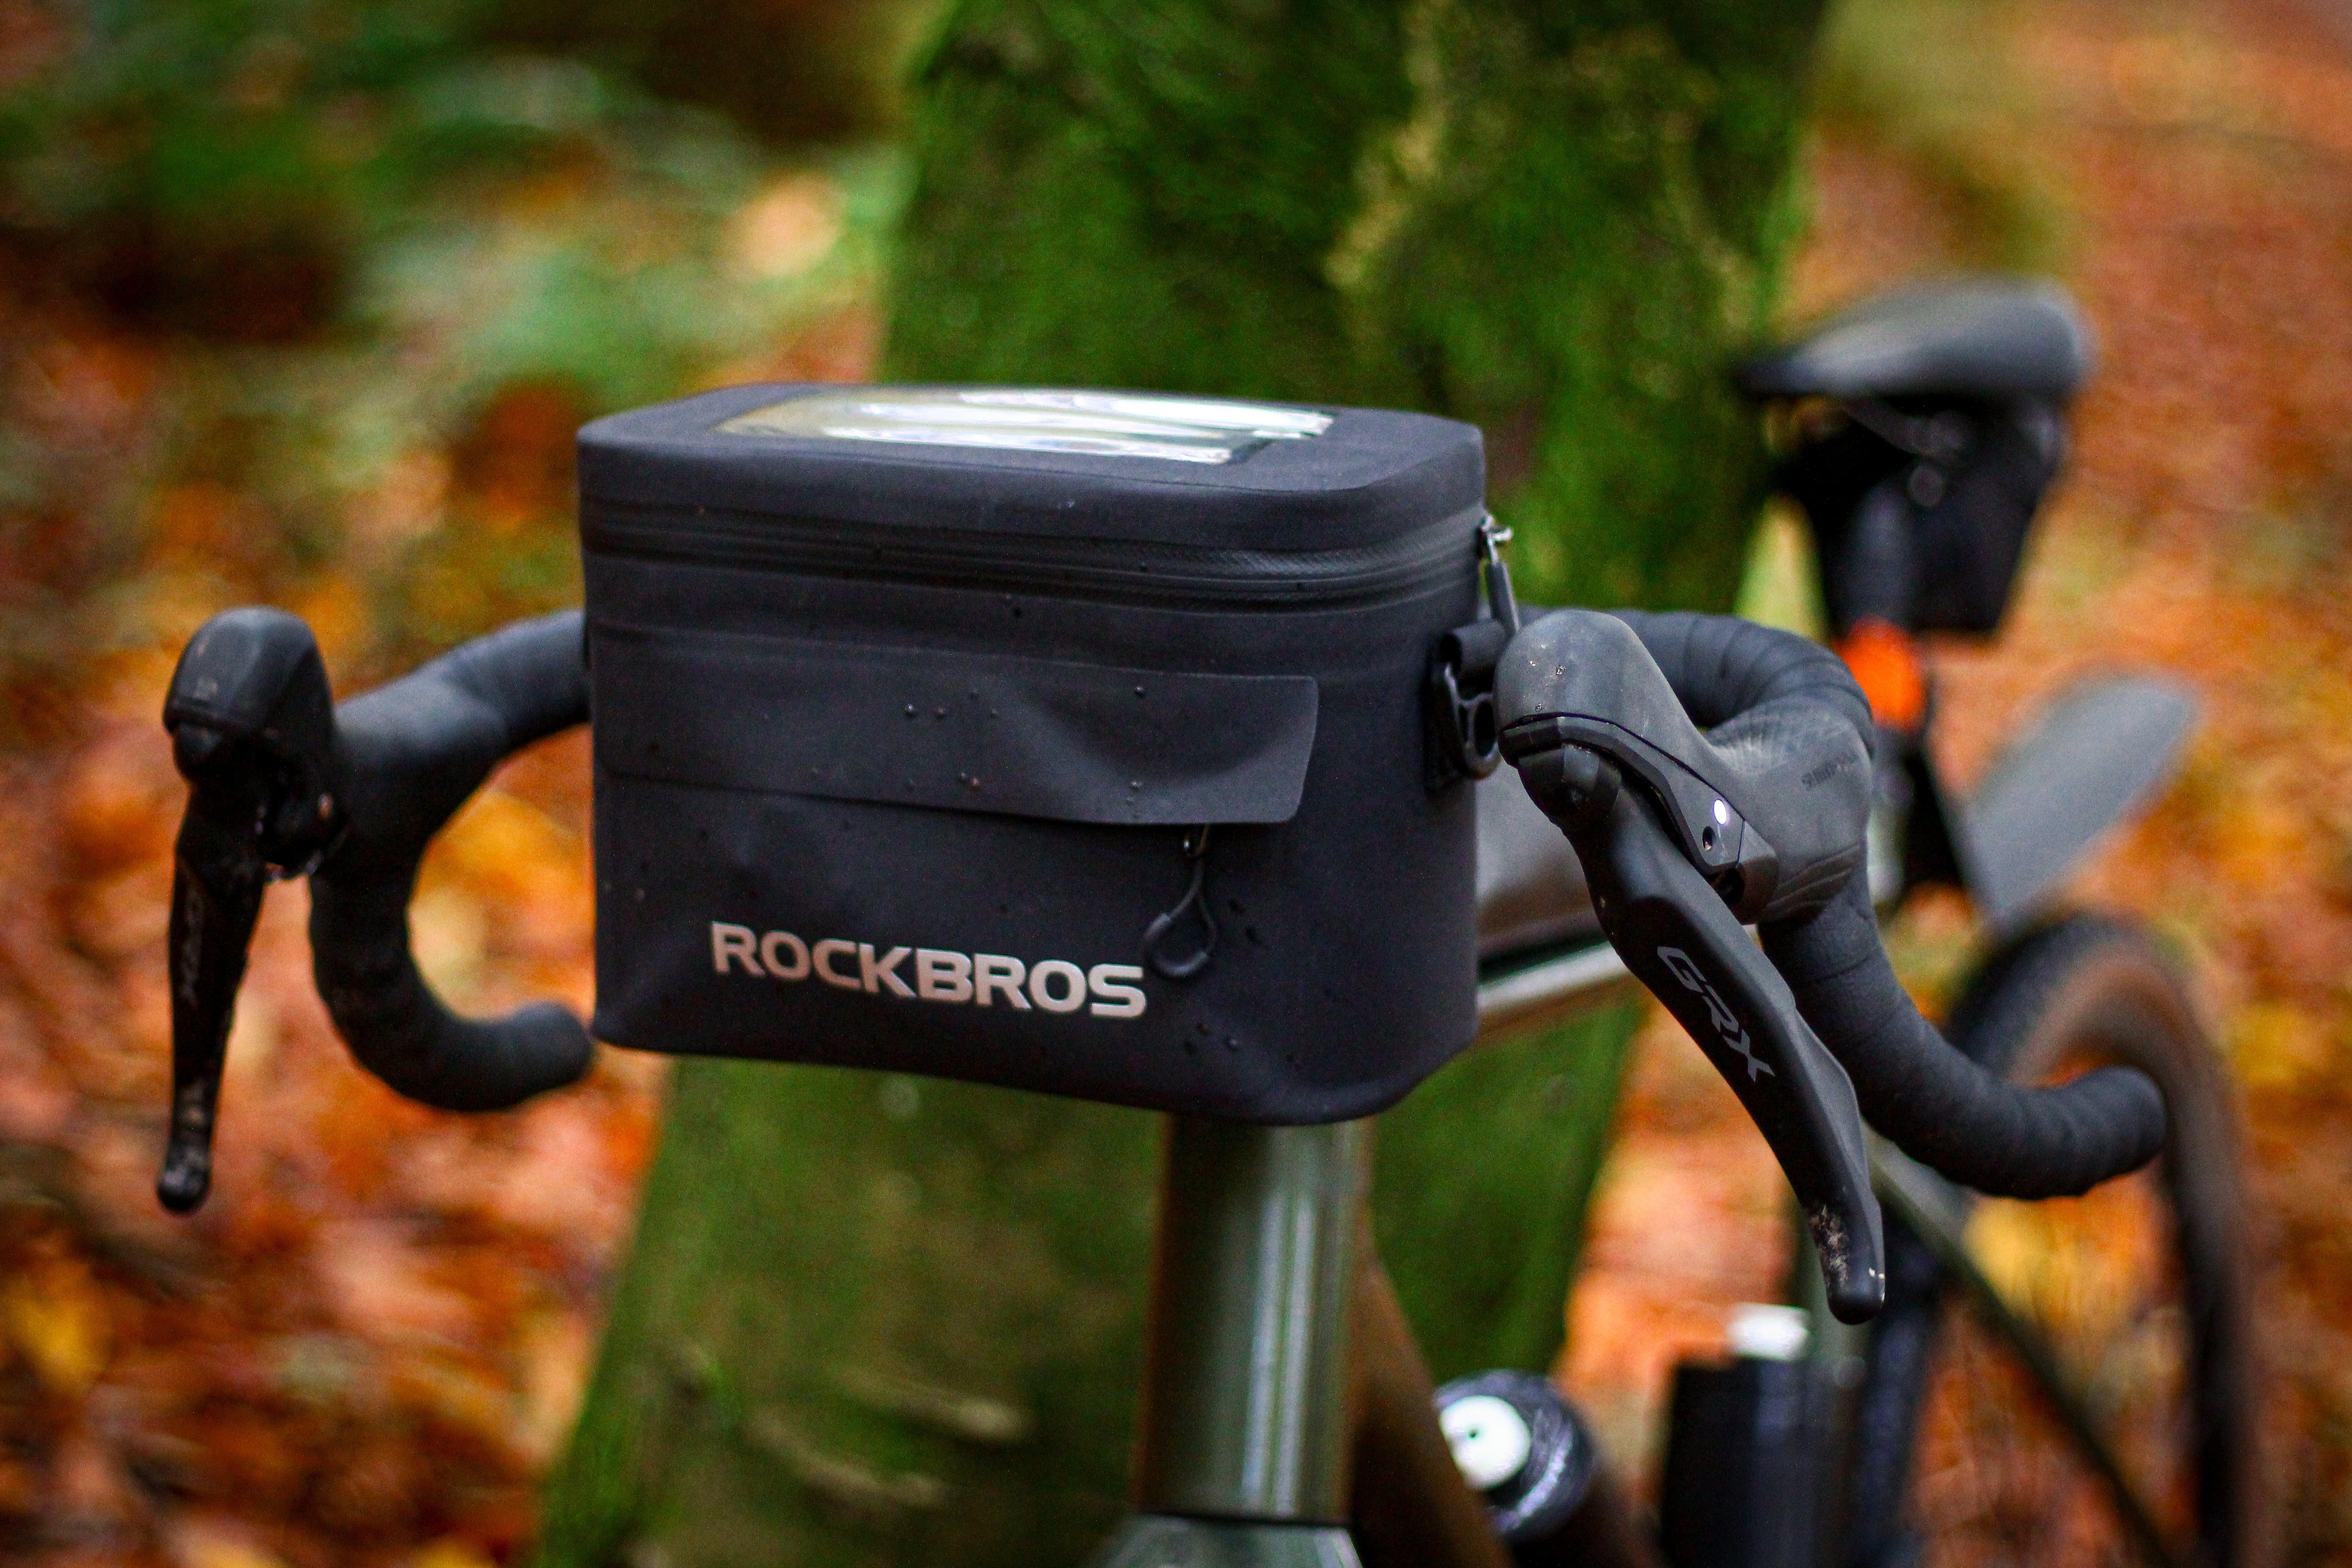
Quick answer: choose a handlebar bag by deciding what must be easy to reach, then checking capacity, mounting clearance and how the bag behaves when the bars turn. A useful bag should carry the essentials without blocking lights, a computer, cables or your normal hand positions.
A handlebar bag works best when it solves a specific carrying problem. It can keep a phone, keys, snacks, gloves, a compact layer or a small repair item close at hand. It is less convincing when it is asked to replace a pannier, a large backpack or every pocket on the bike. Choosing the right size and mounting style is therefore more useful than chasing the biggest capacity.
Choose the job before the size
Start by making a short list of the items you want in the bag on an ordinary ride. For a quick urban trip, that may be a phone, keys, wallet and a light layer. For a longer ride, it could add food, a compact rain shell and tools. Keep permanent repair items in a small saddle bag if that makes the daily load simpler; a handlebar bag is especially useful for things you want to reach without unpacking everything.
Think about what should stay on the bike and what comes indoors with you. A detachable bag can be handy at a café or office, but a secure fixing and a predictable routine matter more than a feature list. If you carry a laptop, a change of clothes or heavy shopping, a rear rack and pannier may be the more comfortable choice.
Check handlebar, cable and wheel clearance
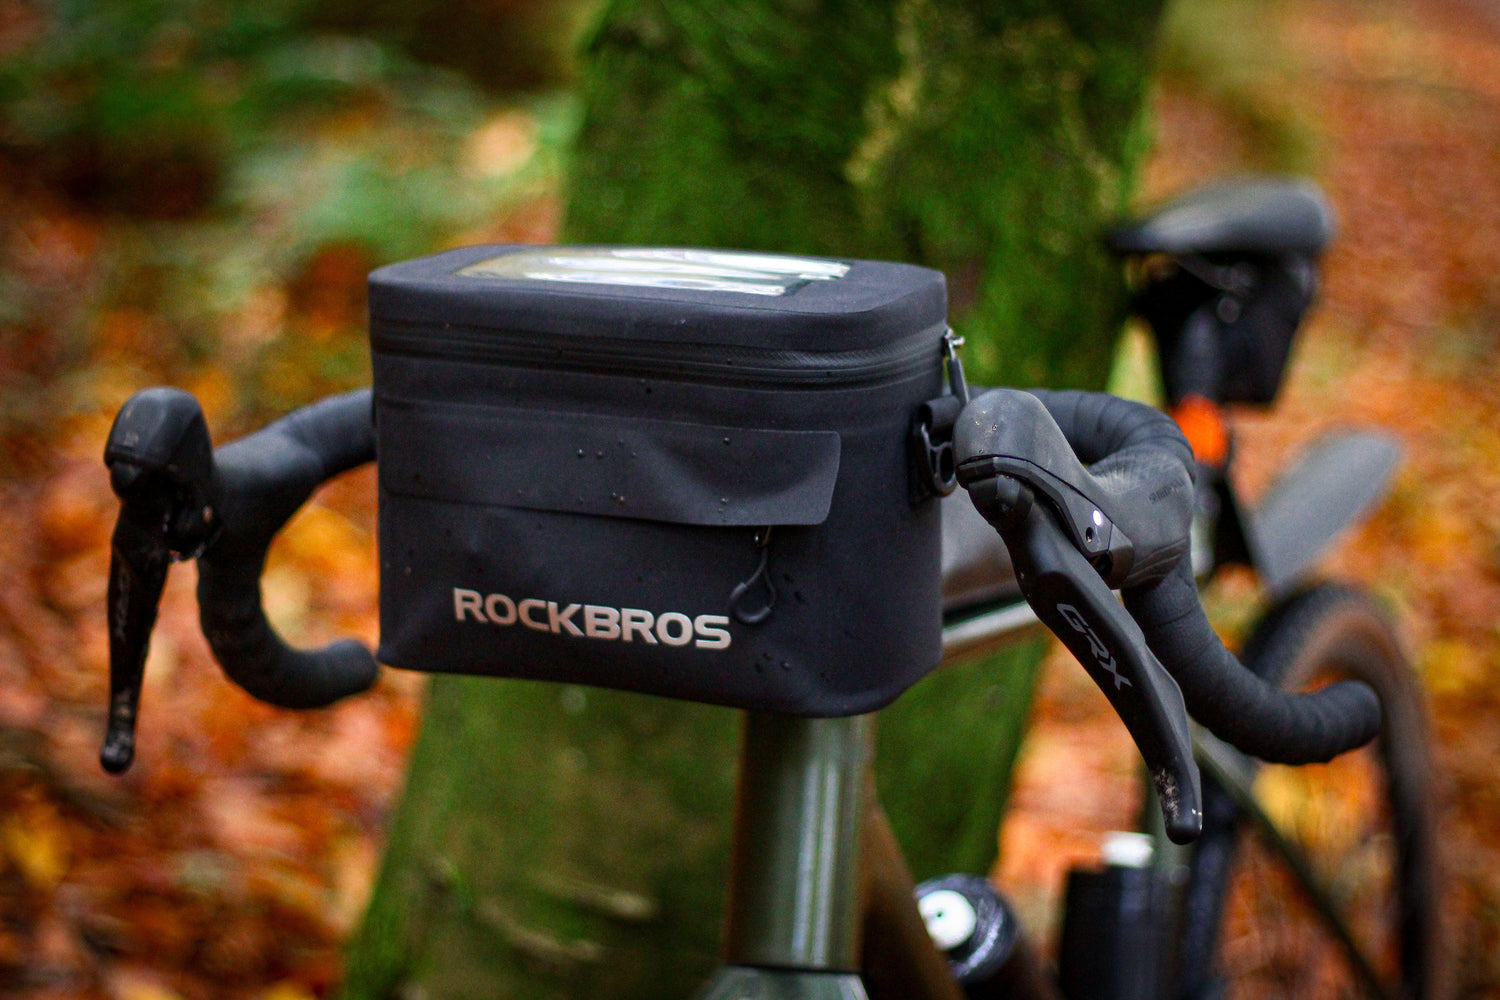
Before ordering, look at the space between your handlebars and the front tyre. Measure the usable width between the controls and note where your brake and gear cables run. A bag should not press against a lever, pull on a cable or cover a light or cycling computer. Riders with compact bars, a short head tube or several accessories may need a smaller bag or a different mounting point.
Turn the bars fully to both sides with the bike stationary. This reveals whether a bag could touch the frame, snag a cable or interfere with a front light. It is also sensible to check the gap above the front tyre, especially if you ride with mudguards or on rough roads where the bag can move more than it does in a showroom.
Fresh cycling discussions show why this step matters: riders often compare access and capacity with hand positions, bottle access and the risk of a larger bag hanging too low. Those preferences differ by bike and body position, so use them as a checklist rather than a universal rule.
Make the mounting system practical
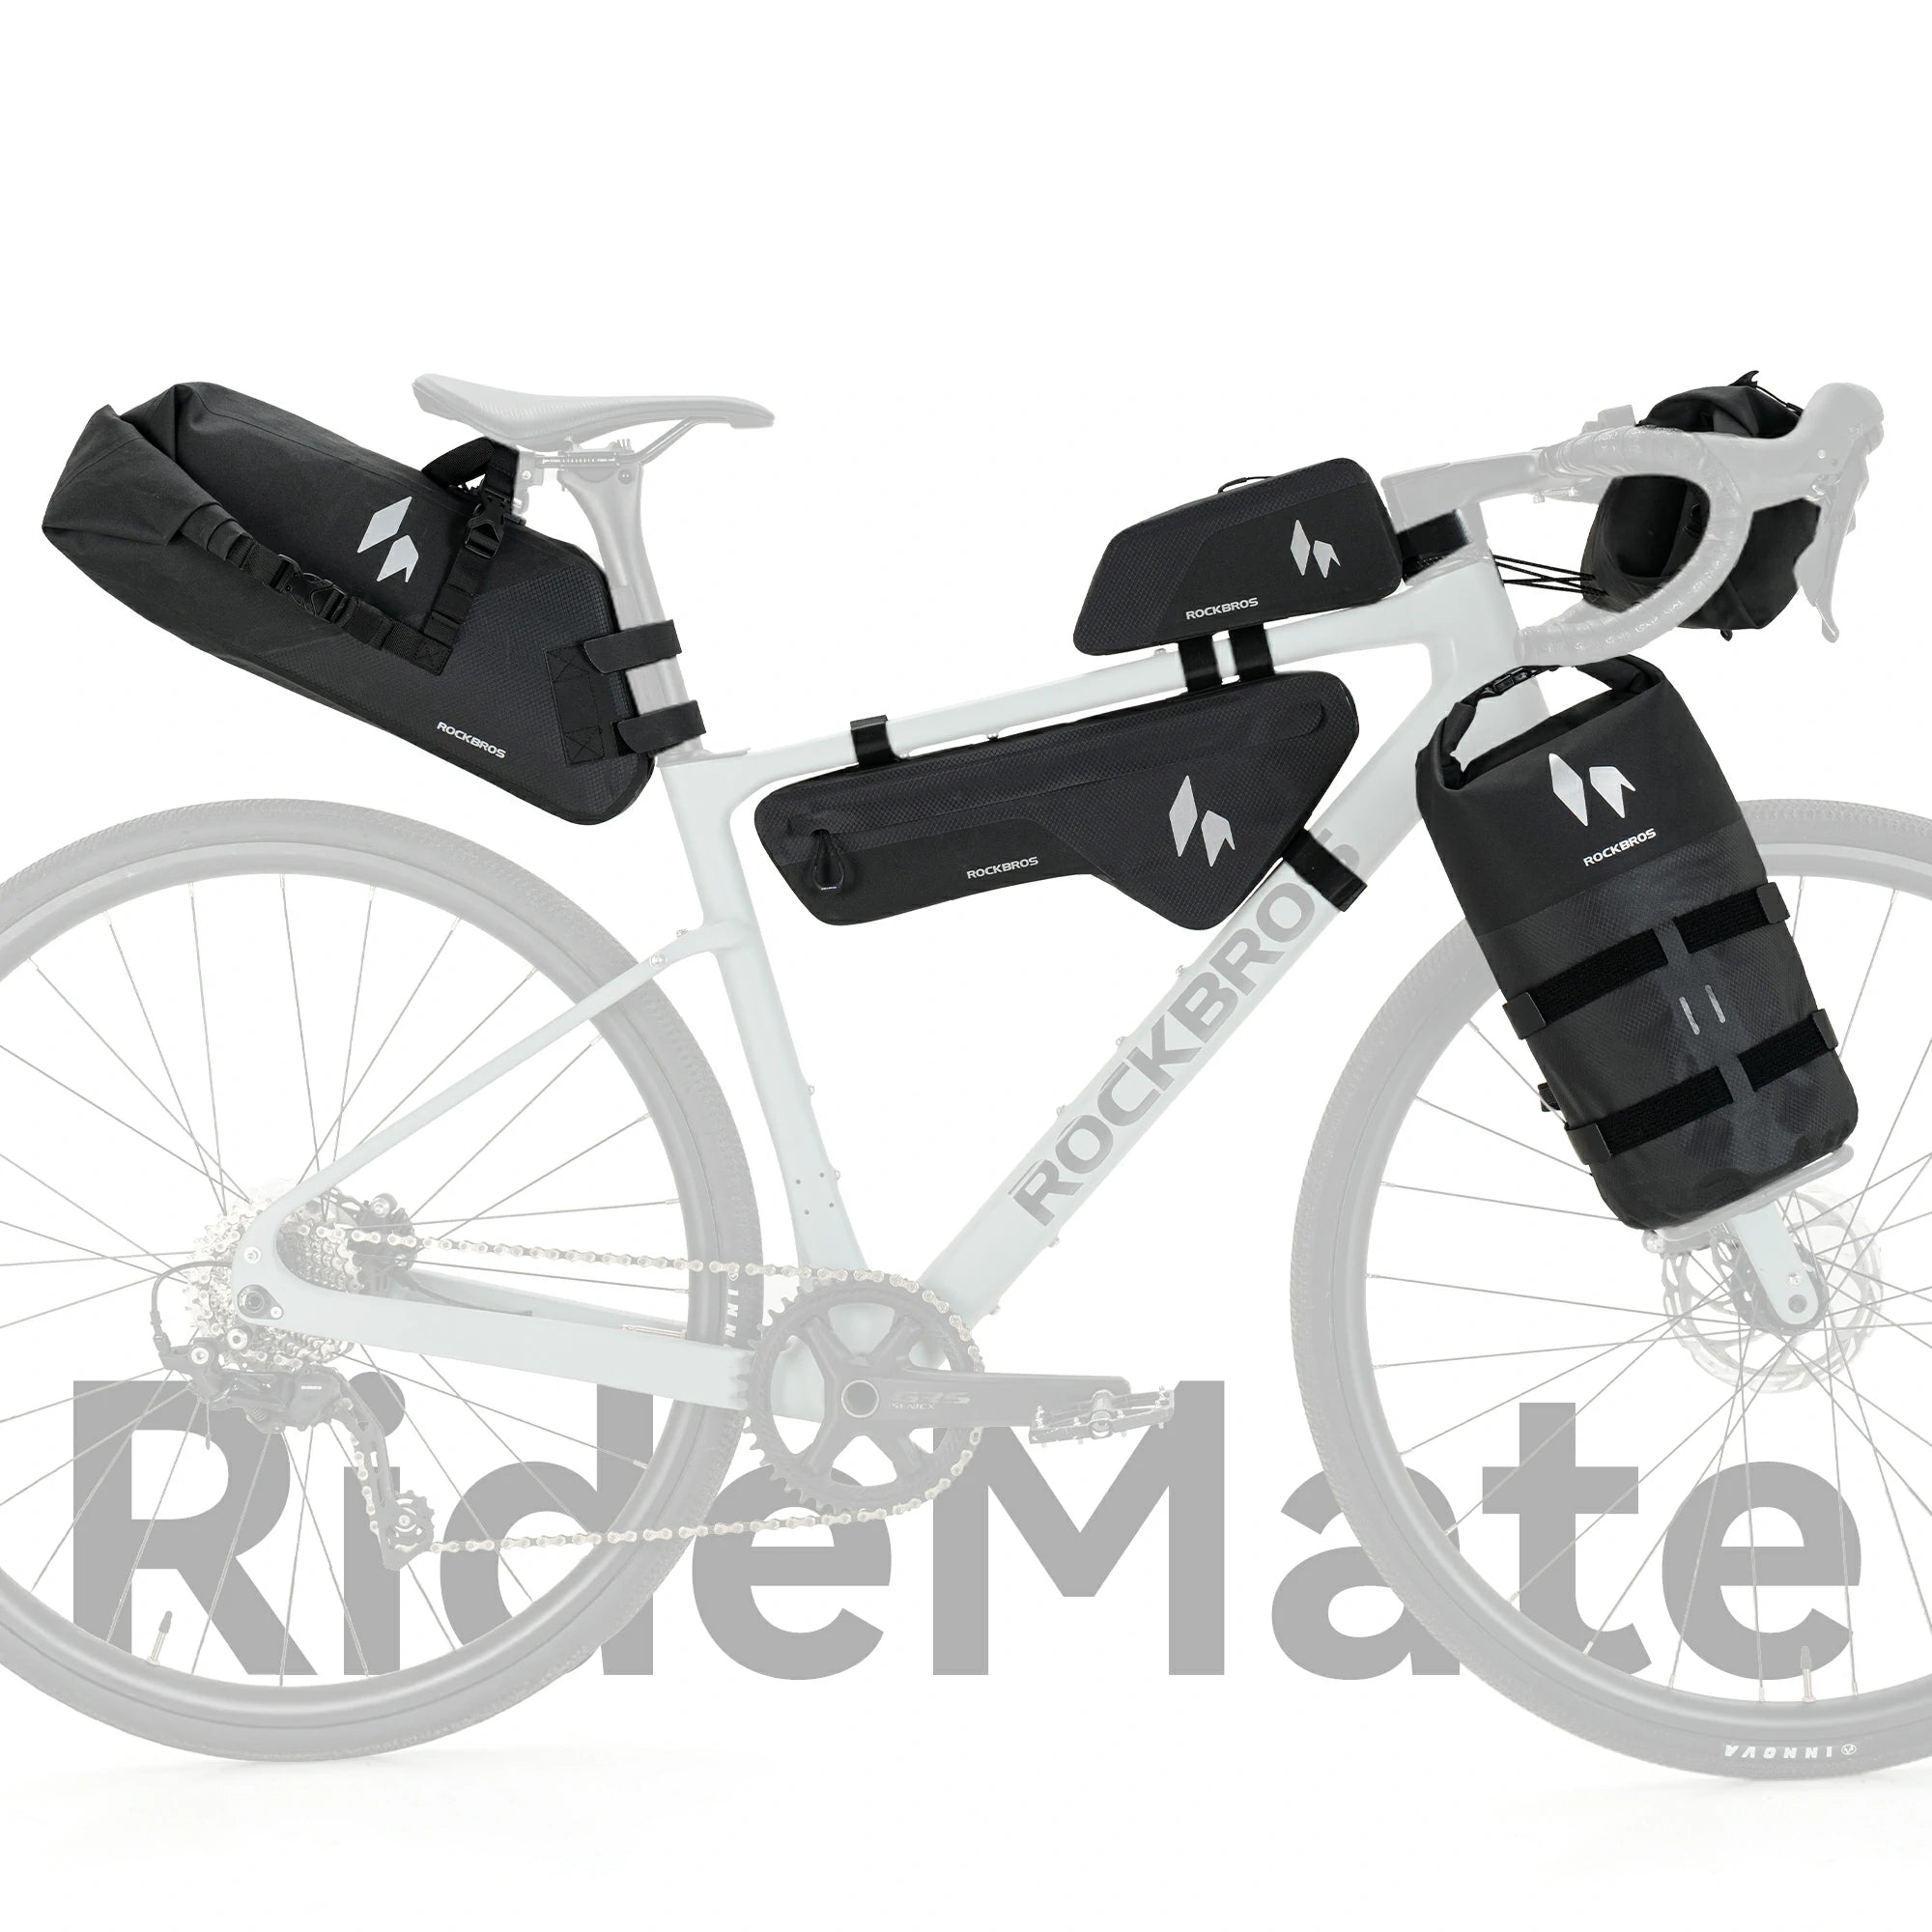
Mounting systems range from straps to brackets and racks. Whatever you choose, read the fitting instructions for the exact bag and inspect the straps or attachment points regularly. Straps should be snug without crushing cables or rubbing a brake hose. A bracket should sit firmly without working loose over rough ground.
If the bag touches painted areas, add suitable frame protection only if it is compatible with the product instructions and your frame finish. Keep loose strap ends trimmed or secured so they cannot reach the wheel or brake. Do not use a bag that moves into the wheel, blocks a control or makes steering feel unpredictable.
Pack for control and easy access
Put dense items low and close to the bars where the bag’s design allows it, and keep lighter items above them. Avoid overfilling a soft bag until it bulges against the controls or makes the zip hard to close. A phone, keys and snacks are often easier to manage when each has a consistent place, rather than sitting loose together.
For wet rides, follow the product’s own closure and care instructions. Do not assume that a zip, flap or roll-top gives the same level of weather protection on every bag. If you carry electronics, use an additional protective sleeve unless the exact product specification says otherwise.
Test the setup before relying on it
Do a short test ride on familiar roads before using a new bag for a longer commute. Check the steering at slow speed, ride over a few ordinary bumps, use the brakes and make sure the lights remain visible. Stop after a few minutes to inspect the fittings. A small adjustment to strap tension or bag position can make the difference between a tidy daily setup and one that gradually rubs or shifts.
Once the bag passes that test, keep the routine simple. Put the same essentials in the same place, recheck the mount after heavy rain or rough riding, and do not add weight just because there is spare room.
Final checklist
Before choosing a handlebar bag, list what you will carry, measure the clear space on the bike, check the full steering range and make sure your lights and controls still work as intended. A bag that fits the bike and the journey is more useful than one that only looks spacious online.
Browse the verified ROCKBROS Bike Handlebar Bags collection to compare product-specific capacities, mounting instructions and weather-protection wording.