




Quick answer: the right bike floor stand should suit your wheel and tyre, stay predictable on the surface where you park, and fit the space you actually have. Before comparing price or finish, measure the bike, check what the stand supports and decide whether you need everyday storage, a place to clean the bike, or both.
A floor stand can make a bike much easier to live with. It can stop a commuter bike leaning against a hallway wall, give a road bike a home in a garage, or keep the wheels off the way while you clean the drivetrain. The catch is that a stand which looks right online can still be awkward if the tyre does not sit naturally in the support, the handlebars need more room than expected, or the bike is easy to knock sideways.

Start with the space, not the product photo
Look at the space where the bike will spend most of its time. Measure the available width and depth, then allow for the handlebars, pedals and the route you need to use to roll the bike in or out. In a flat, the real question is often whether you can take the bike out quickly on a weekday morning without moving furniture. In a garage or shed, it may be whether the bike can be parked without catching another bike or a car door.
Also decide whether the stand will be used on a smooth indoor floor, paving or a garage surface. A level, firm surface gives you the most predictable starting point. If the floor slopes, is uneven or becomes slippery when wet, treat that as a reason to be more cautious rather than assuming a stand will correct it.
Freestanding storage can be especially useful when drilling into a wall is not an option. It is still worth thinking about access: a compact footprint is only helpful if the bike can be rolled into position without lifting or twisting it in a cramped doorway.
Check the bike and tyre before you buy
Do not rely on the word “universal”. Start with your actual bike:
- Measure the tyre width and note whether you use mudguards.
- Check the wheel size and whether the bike has an unusual tyre profile.
- Consider the bike’s weight, including a battery, racks or loaded bags if they stay fitted.
- Look for disc rotors, cables or accessories that could be close to the support points.
Competitor research for UK floor stands repeatedly makes fit information prominent: tyre width, wheel size, load and whether the support contacts the wheel or the frame. That is useful buying discipline, not a promise that one set of figures applies to every stand. Compare the stated specification of the exact model against your own bike, and ask before ordering if a measurement is missing.
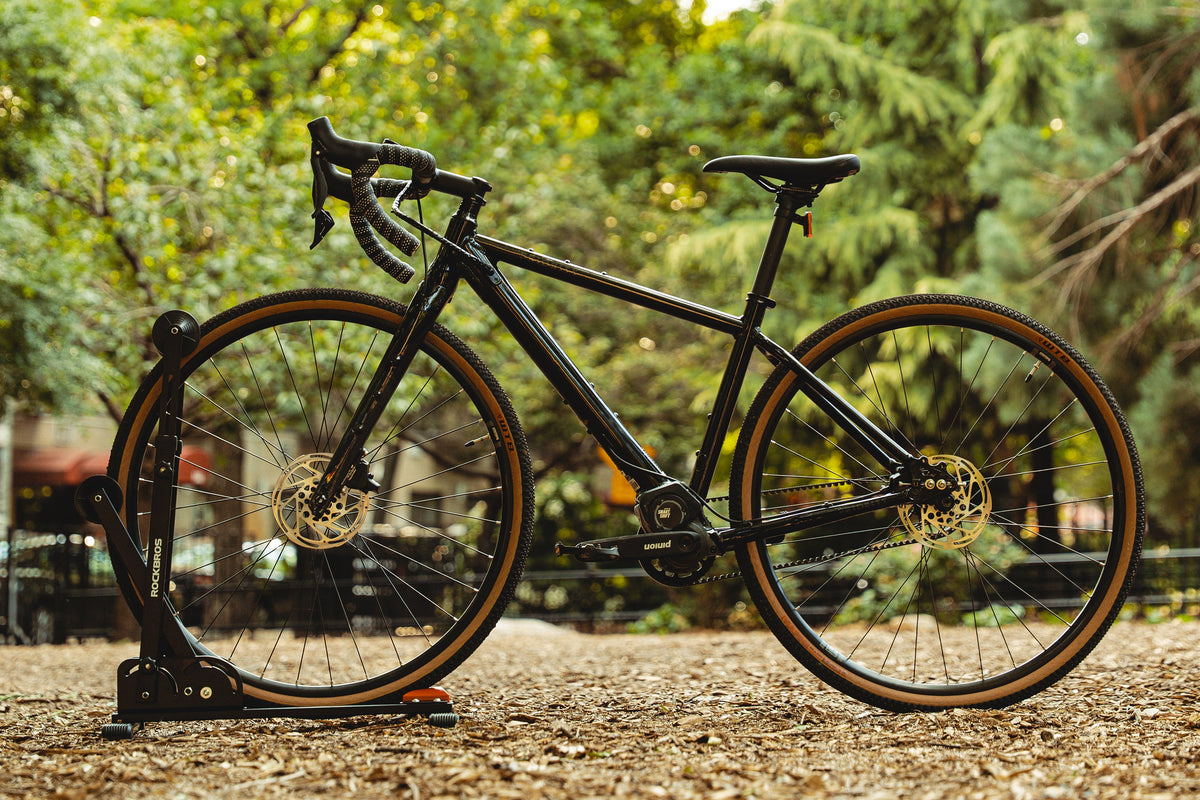
The ROCKBROS Bike Floor Stand product listing describes a foldable steel stand for front- or rear-wheel parking, storage, cleaning and maintenance. It also refers to road bikes and 24–27.5-inch mountain bikes. The listing does not publish a maximum bike weight or a tyre-width range, so riders with an e-bike, a very wide tyre or an unusual wheel setup should confirm suitability rather than infer it.
Choose the support style that matches the job
Floor stands do not all hold a bike in the same way. Some cradle a wheel, while others use a more upright or hook-based arrangement. A wheel-supporting design can be practical when you want to roll the bike in and out often. An upright design may save more floor space, but it can ask more of the wall, the contact point or the person lifting the bike into place.
For everyday storage, choose the approach that leaves the controls, saddle and frame easy to reach. For cleaning or basic maintenance, check that the position still lets you turn the cranks and work around the wheel. A parking stand is not automatically a repair stand; if you need to lift a wheel completely clear of the ground, look for equipment specifically designed for that job.
The ROCKBROS design uses a curved roller, protective plastic slots and anti-slip feet according to its product page. Those details are relevant to how the bike is positioned, but the best check remains a short, careful trial with your own tyre and floor surface.
Test stability before you rely on it
Once the bike is in the stand, step back and look at the contact points. The tyre should sit where the design intends, with no pressure on a rotor, derailleur or cable. Gently hold the saddle and bars, then see whether the bike feels settled before letting go. Do not shove it hard; the aim is to spot a poor fit, not to prove a stand can survive a fall.
Try the routine you will actually use: roll the bike in, take it out, turn the bars and walk past it. If the bike is likely to be knocked by a child, a pet or another bike, give it more room or choose a storage method that better suits the setting. A stand that is fine in a quiet workshop may not be the best choice for a narrow shared hallway.
A floor stand is storage support, not theft protection
A freestanding stand helps organise a bike; it does not fasten the bike to the building or a fixed object. If theft is a concern, make a separate security plan. Check your insurer’s wording and use an appropriate lock and fixed locking point where required. Keeping storage and security as two separate decisions prevents a common and expensive misunderstanding.
Final checklist
Before choosing a bike floor stand, record your tyre width, wheel size, bike weight and available floor space. Check the exact product specification, allow for mudguards and accessories, and test the bike carefully on the surface where it will be used. That small amount of preparation makes a stand far more likely to be a useful part of the daily routine.
For the verified product reference, see the ROCKBROS Bike Floor Stand.